Raspberry Pi VPC Network Example: Your Ultimate Guide To Building A Private Cloud
So, here's the deal. You've probably heard about Raspberry Pi and VPC (Virtual Private Cloud) networks, but combining the two might sound like a challenge. Well, let me tell you something—it’s not as complicated as it seems. In fact, setting up a Raspberry Pi VPC network example is one of the coolest projects you can dive into if you're into tech, networking, or just want to explore the possibilities of cloud computing on a budget. Stick around, because this is gonna be fun. Let’s get started.
Now, before we dive deep into the nitty-gritty of Raspberry Pi VPC network examples, it’s important to understand why this matters. Imagine having your own private cloud setup right in your living room. That’s exactly what Raspberry Pi offers. It’s not just about tinkering with hardware—it’s about creating a system that works for you, whether you’re managing IoT devices, hosting websites, or even building a home media server. The possibilities are endless.
Oh, and don’t worry if you’re new to all this. This guide is designed to walk you through every step of the process, from understanding the basics of Raspberry Pi and VPC networks to setting up your very own private cloud. By the end of this, you’ll have enough knowledge to impress your friends—or maybe even start a side hustle. So, let’s jump into it!
Table of Contents
- What is Raspberry Pi?
- Understanding VPC Networks
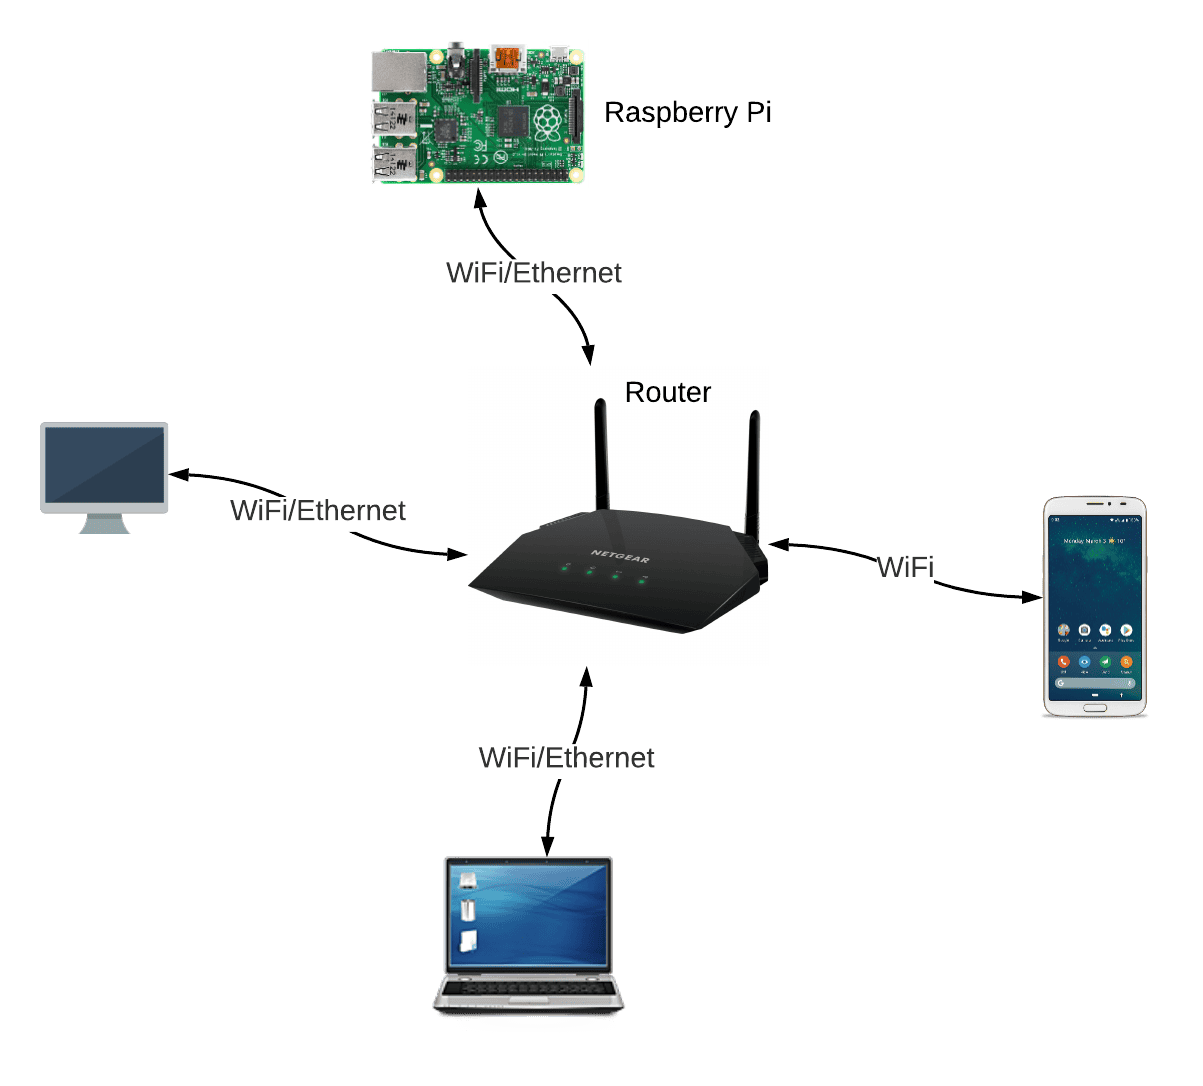
- Raspberry Pi VPC Basics
- Hardware Requirements
- Software Setup
- Step-by-Step Guide
- Security Considerations
- Common Issues and Troubleshooting
- Real-World Applications
- Final Thoughts
What is Raspberry Pi?
Alright, let’s break it down. Raspberry Pi is basically a tiny computer that fits in the palm of your hand. But don’t let its size fool you—it’s incredibly powerful. Developed by the Raspberry Pi Foundation, this little device has become a favorite among hobbyists, developers, and educators alike. It’s perfect for learning programming, building projects, and even running servers. And the best part? It’s super affordable.
Here’s a quick rundown of what makes Raspberry Pi so special:
- Compact and lightweight design
- Supports multiple operating systems, including Linux-based distributions
- Equipped with GPIO pins for connecting external devices
- Can be used for everything from home automation to machine learning projects
So, when we talk about Raspberry Pi VPC network examples, we’re essentially talking about using this little powerhouse to create a private cloud environment. Pretty cool, right?
Understanding VPC Networks
Let’s shift gears and talk about VPC networks. If you’re not familiar with the term, don’t sweat it. A VPC (Virtual Private Cloud) network is essentially a secure and isolated environment within the cloud. Think of it like a private playground where you can run your applications, store data, and manage resources without worrying about external interference.
Why Use a VPC Network?
There are plenty of reasons why VPC networks are becoming increasingly popular:
- Enhanced security through network isolation
- Customizable subnets and IP addresses
- Control over inbound and outbound traffic
- Scalability to meet growing demands
When combined with Raspberry Pi, VPC networks offer an affordable way to experiment with cloud computing without breaking the bank. Plus, it’s a great learning experience for anyone interested in networking and cybersecurity.
Raspberry Pi VPC Basics
Now that we’ve covered the basics of Raspberry Pi and VPC networks, let’s talk about how they work together. Setting up a Raspberry Pi VPC network example involves a few key steps:
- Choosing the right hardware and software
- Configuring the network settings
- Securing your VPC environment
- Testing and troubleshooting
Each of these steps plays a crucial role in ensuring that your private cloud runs smoothly. We’ll dive deeper into each one later, but for now, just know that it’s all about creating a secure and efficient setup.
Hardware Requirements
Before you start tinkering with your Raspberry Pi VPC network example, you’ll need the right hardware. Here’s what you’ll need:
- Raspberry Pi 4 (or later model)
- MicroSD card with at least 32GB of storage
- Power supply (official Raspberry Pi power adapter recommended)
- Ethernet cable for wired connections (optional)
- USB keyboard and mouse
- HDMI monitor (optional, for initial setup)
Make sure everything is compatible with your Raspberry Pi model. Trust me, you don’t want to deal with hardware issues halfway through your project.
Software Setup
Once you’ve got your hardware ready, it’s time to set up the software. Here’s what you’ll need:
- Raspberry Pi OS (preferably the full desktop version)
- A VPC-compatible software stack (e.g., Docker, Kubernetes, or OpenStack)
- Networking tools like iptables and net-tools
Installing the software is pretty straightforward. Just follow the official Raspberry Pi documentation, and you’ll be good to go. If you’re new to Linux, don’t worry—there are plenty of tutorials out there to help you out.
Step-by-Step Guide
Alright, let’s get our hands dirty. Here’s a step-by-step guide to setting up your Raspberry Pi VPC network example:
Step 1: Install Raspberry Pi OS
Download the Raspberry Pi Imager tool and flash the latest version of Raspberry Pi OS onto your microSD card. Once that’s done, insert the card into your Raspberry Pi and power it on.
Step 2: Configure Network Settings
Set up your Wi-Fi or Ethernet connection and assign a static IP address to your Raspberry Pi. This ensures that your device always has the same address within your network.
Step 3: Install VPC Software
Depending on your use case, choose the right VPC software stack. For example, if you’re building a containerized environment, Docker might be the way to go. If you’re looking for something more robust, consider OpenStack.
Step 4: Secure Your VPC
Set up firewalls, configure SSH keys, and enable two-factor authentication to protect your private cloud. Security should always be a top priority.
Step 5: Test and Optimize
Once everything is set up, test your VPC network to ensure everything is working as expected. Make adjustments as needed to optimize performance.
Security Considerations
When it comes to Raspberry Pi VPC network examples, security is key. Here are a few tips to keep your private cloud safe:
- Use strong passwords and enable passwordless authentication wherever possible
- Regularly update your software to patch vulnerabilities
- Monitor network traffic for suspicious activity
- Limit access to your VPC network to trusted devices and users
Remember, a secure VPC network is a happy VPC network. Don’t skimp on security—it could cost you in the long run.
Common Issues and Troubleshooting
Even the best-laid plans can run into issues. Here are some common problems you might encounter and how to fix them:
- Connection Issues: Check your network settings and ensure that your Raspberry Pi is properly connected to your router.
- Software Errors: Reinstall the software or consult the official documentation for troubleshooting tips.
- Performance Problems: Optimize your setup by reducing unnecessary processes and ensuring your hardware is up to the task.
If all else fails, don’t hesitate to reach out to the Raspberry Pi community for help. Chances are, someone else has encountered the same issue and found a solution.
Real-World Applications
Now that you know how to set up a Raspberry Pi VPC network example, let’s talk about some real-world applications:
- Hosting a personal website or blog
- Running a home media server
- Managing IoT devices
- Experimenting with machine learning models
The possibilities are endless. Whether you’re a tech enthusiast or a professional looking to explore cloud computing, Raspberry Pi VPC networks offer a versatile platform for innovation.
Final Thoughts
There you have it—your ultimate guide to Raspberry Pi VPC network examples. From understanding the basics to setting up your own private cloud, we’ve covered everything you need to know to get started. Remember, the key to success is persistence and curiosity. Don’t be afraid to experiment and push the limits of what you can achieve with Raspberry Pi.
So, what are you waiting for? Grab your Raspberry Pi, roll up your sleeves, and start building your very own VPC network. And when you’re done, don’t forget to share your experience in the comments below. Who knows? You might just inspire someone else to take the leap.
Scott Brancheau: The Man Behind The Inspiring Journey
Searching For Answers: The Heartwarming Story Of Buscar And Mom
Dancing Bear Xvideos: A Deep Dive Into The Controversial Phenomenon

Raspberry Pi VPC Network Example A Comprehensive Guide To Building

Raspberry Pi product series explained Raspberry Pi
Raspberry Pi Circuit Basics
